
Our web widgets are free for everyone to use on their websites. Whether your website is built on WordPress or another Content Management System, the process of embedding StackProperty widgets is very similar.
In this post, I will share with you the steps needed to embed our widgets on your WordPress website.
Let’s start!
Step 1 : Go to The Widgets Page to Select a Widget
Visit https://stackproperty.sg/widgets. There are over 70+ web widgets in 4 categories that you can choose from:
- HDB Resale Widgets
- HDB Rental Widgets
- Private Property Sale Widgets
- Private Property Rental Widgets
For this tutorial, let’s choose “HDB Resale Widgets”, which is the default category. Scroll down the page and locate a widget that you would like to embed. Every widget that you see on the page is accompanied by a demo and a short description.
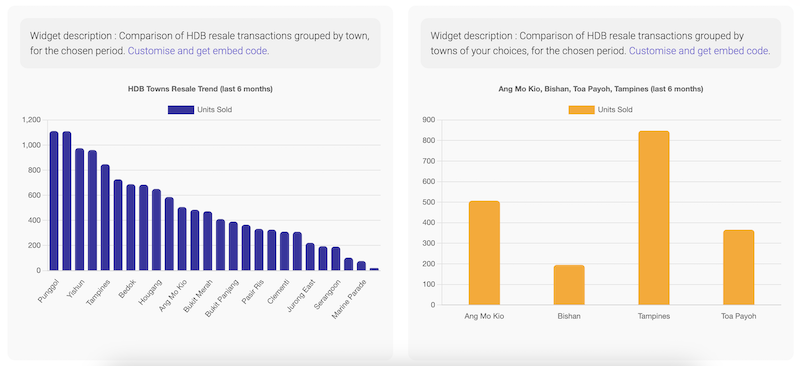
Let’s go with the first widget on the page – Comparison of HDB resale transactions grouped by town, for the chosen period. To customise it, click on the “Customise and get embed code” link.
Step 2 : Customise Your Widget
You should now be at the widget customiser page. In the “Widget Generator” box, you can choose different settings to change the look and feel of your widget. You can also see a demo / preview of the widget in the “Widget Demo” section.
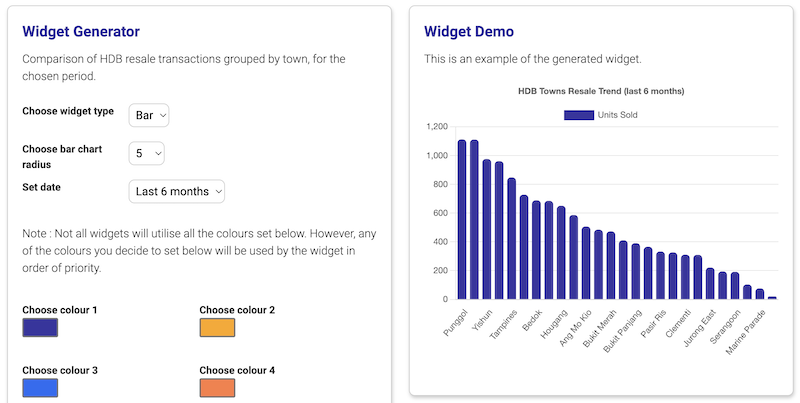
When you are done with updating the settings, click on the “Generate widget demo & code” button. The new widget demo will then render in in the “Widget Demo” section for you.
When you are satisfied with the outcome, check out the next step.
Step 3 : Copy the Widget Code
You can click on the “Copy code” button in the “Widget Code” section to copy the latest widget code. This code can be pasted in any website to render the configured widget. Let’s see how you can do this for WordPress.
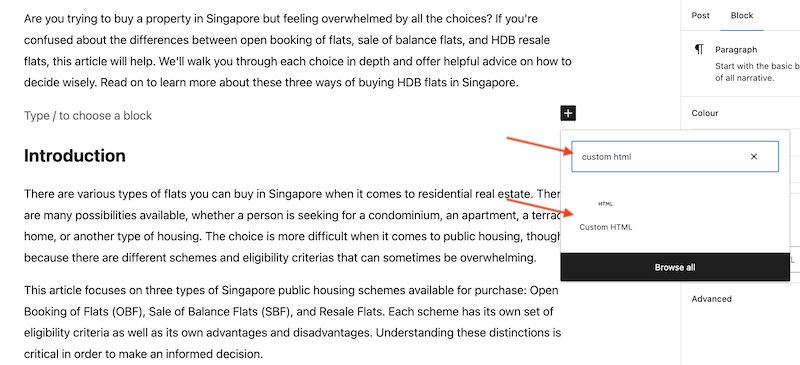
Step 4 : Login to Your WordPress Admin & Create a Post
Login to your WordPress admin and open (or create) the post that you want to embed the widget on. Create a new block using the “+” symbol. Locate the “Custom HTML” component using the component filter. Select the “Custom HTML” component.
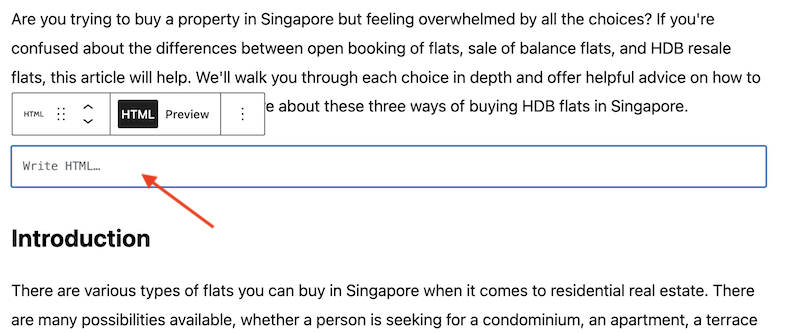
You should the “Custom HTML” component appearing on your post. Paste into the box the HTML that you copied from step 3. Then click outside the box to exit the editing mode.
It’s done! Now, it’s time to check that it works.
Step 5 : Check that Your Widget is Working
At the top right corner of your WordPress Admin, click on preview > preview in new tab. The preview should be launched and you should be able to see the embedded widget.
That’s it! When you are ready, you can publish your post. The widget will update automatically when the data changes. There is no need to regenerate the widget code to stay updated.